

Document templates are pre-formatted documents that you can quickly add to your Scrivener projects. Learn how to create and use custom document templates.
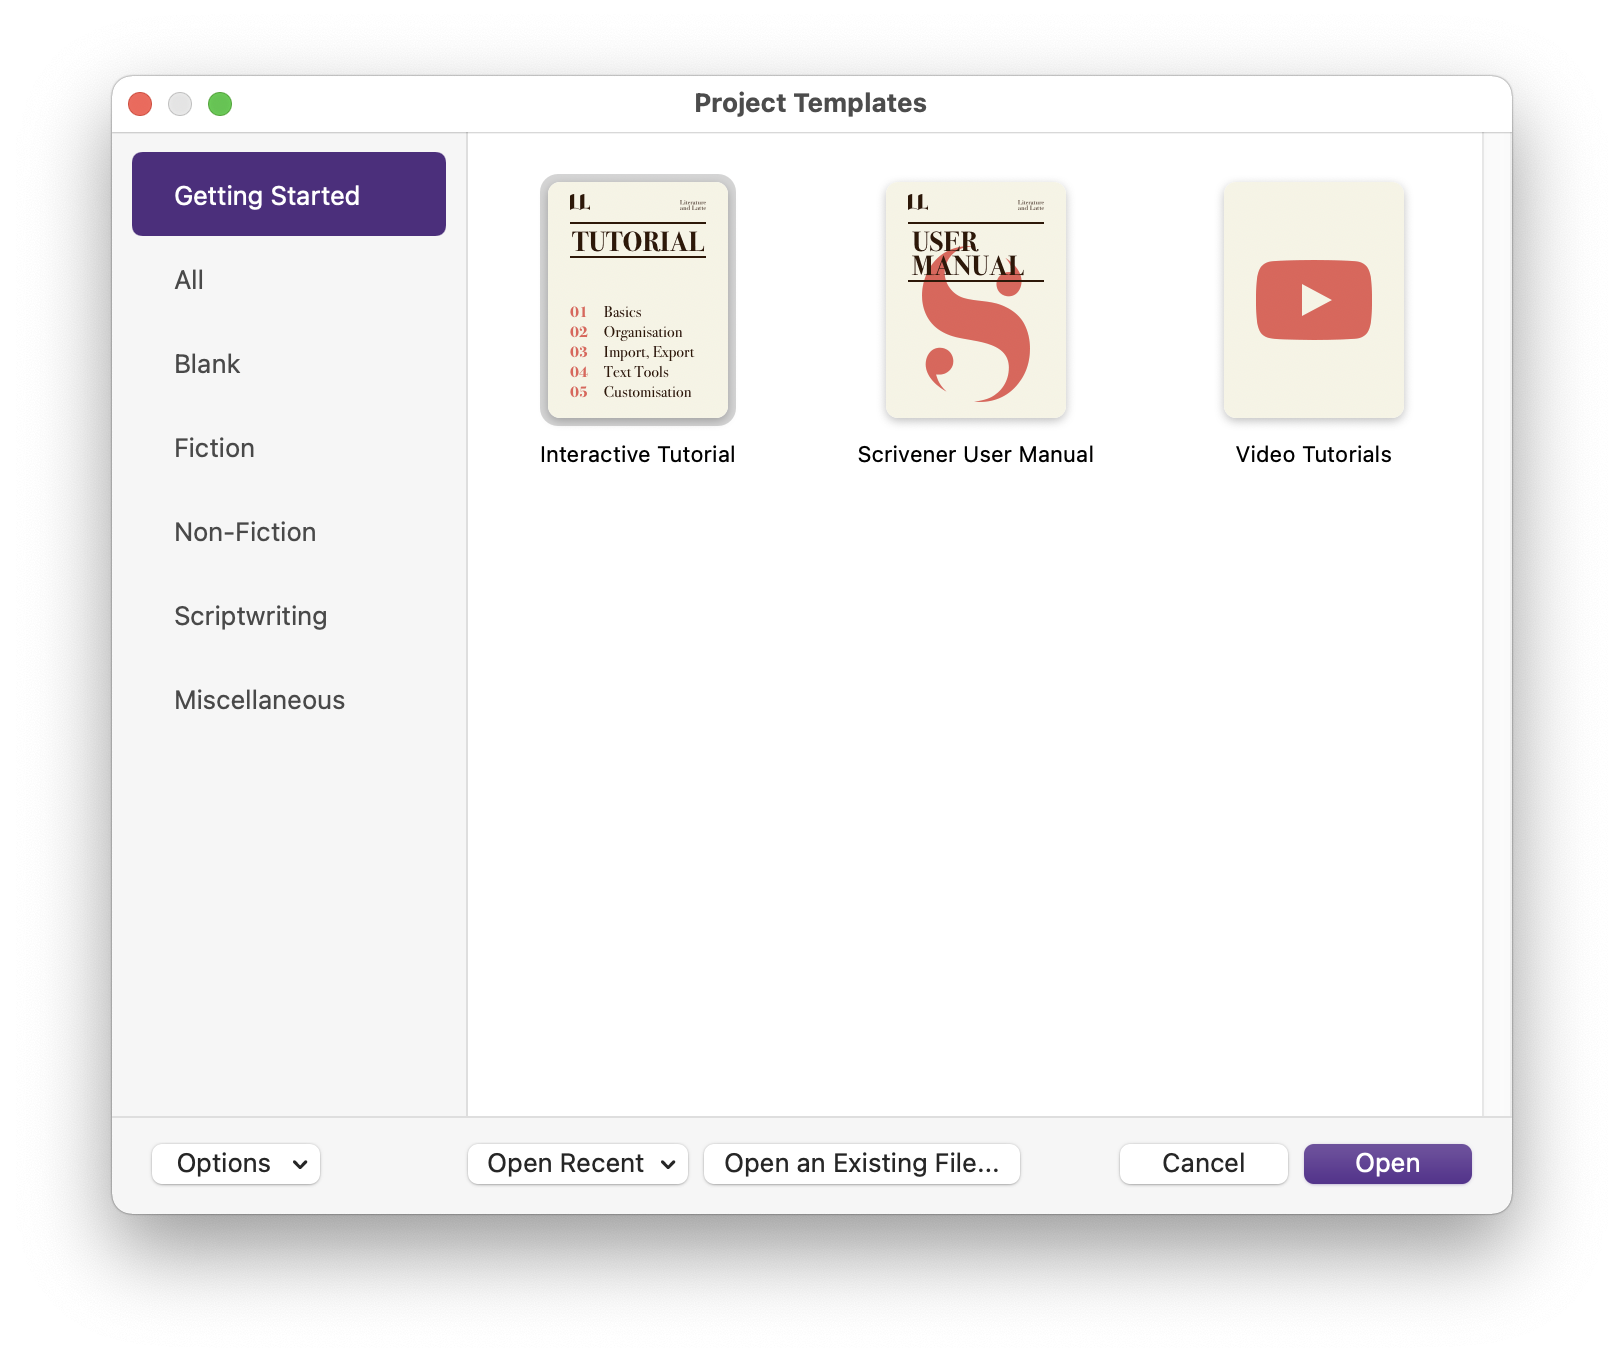
Whenever you create a new Scrivener project, you start with a template; you choose from one of about two dozen files that fit the type of project you’re writing. These templates have structures and settings adapted for different types of works.
Scrivener also uses document templates, which are pre-formatted files, for things such as character and setting sketches. You can create your own document templates, which you can quickly add to your project at any time so you can easily use custom pre-formatted files. Here’s how.
Understanding document templates
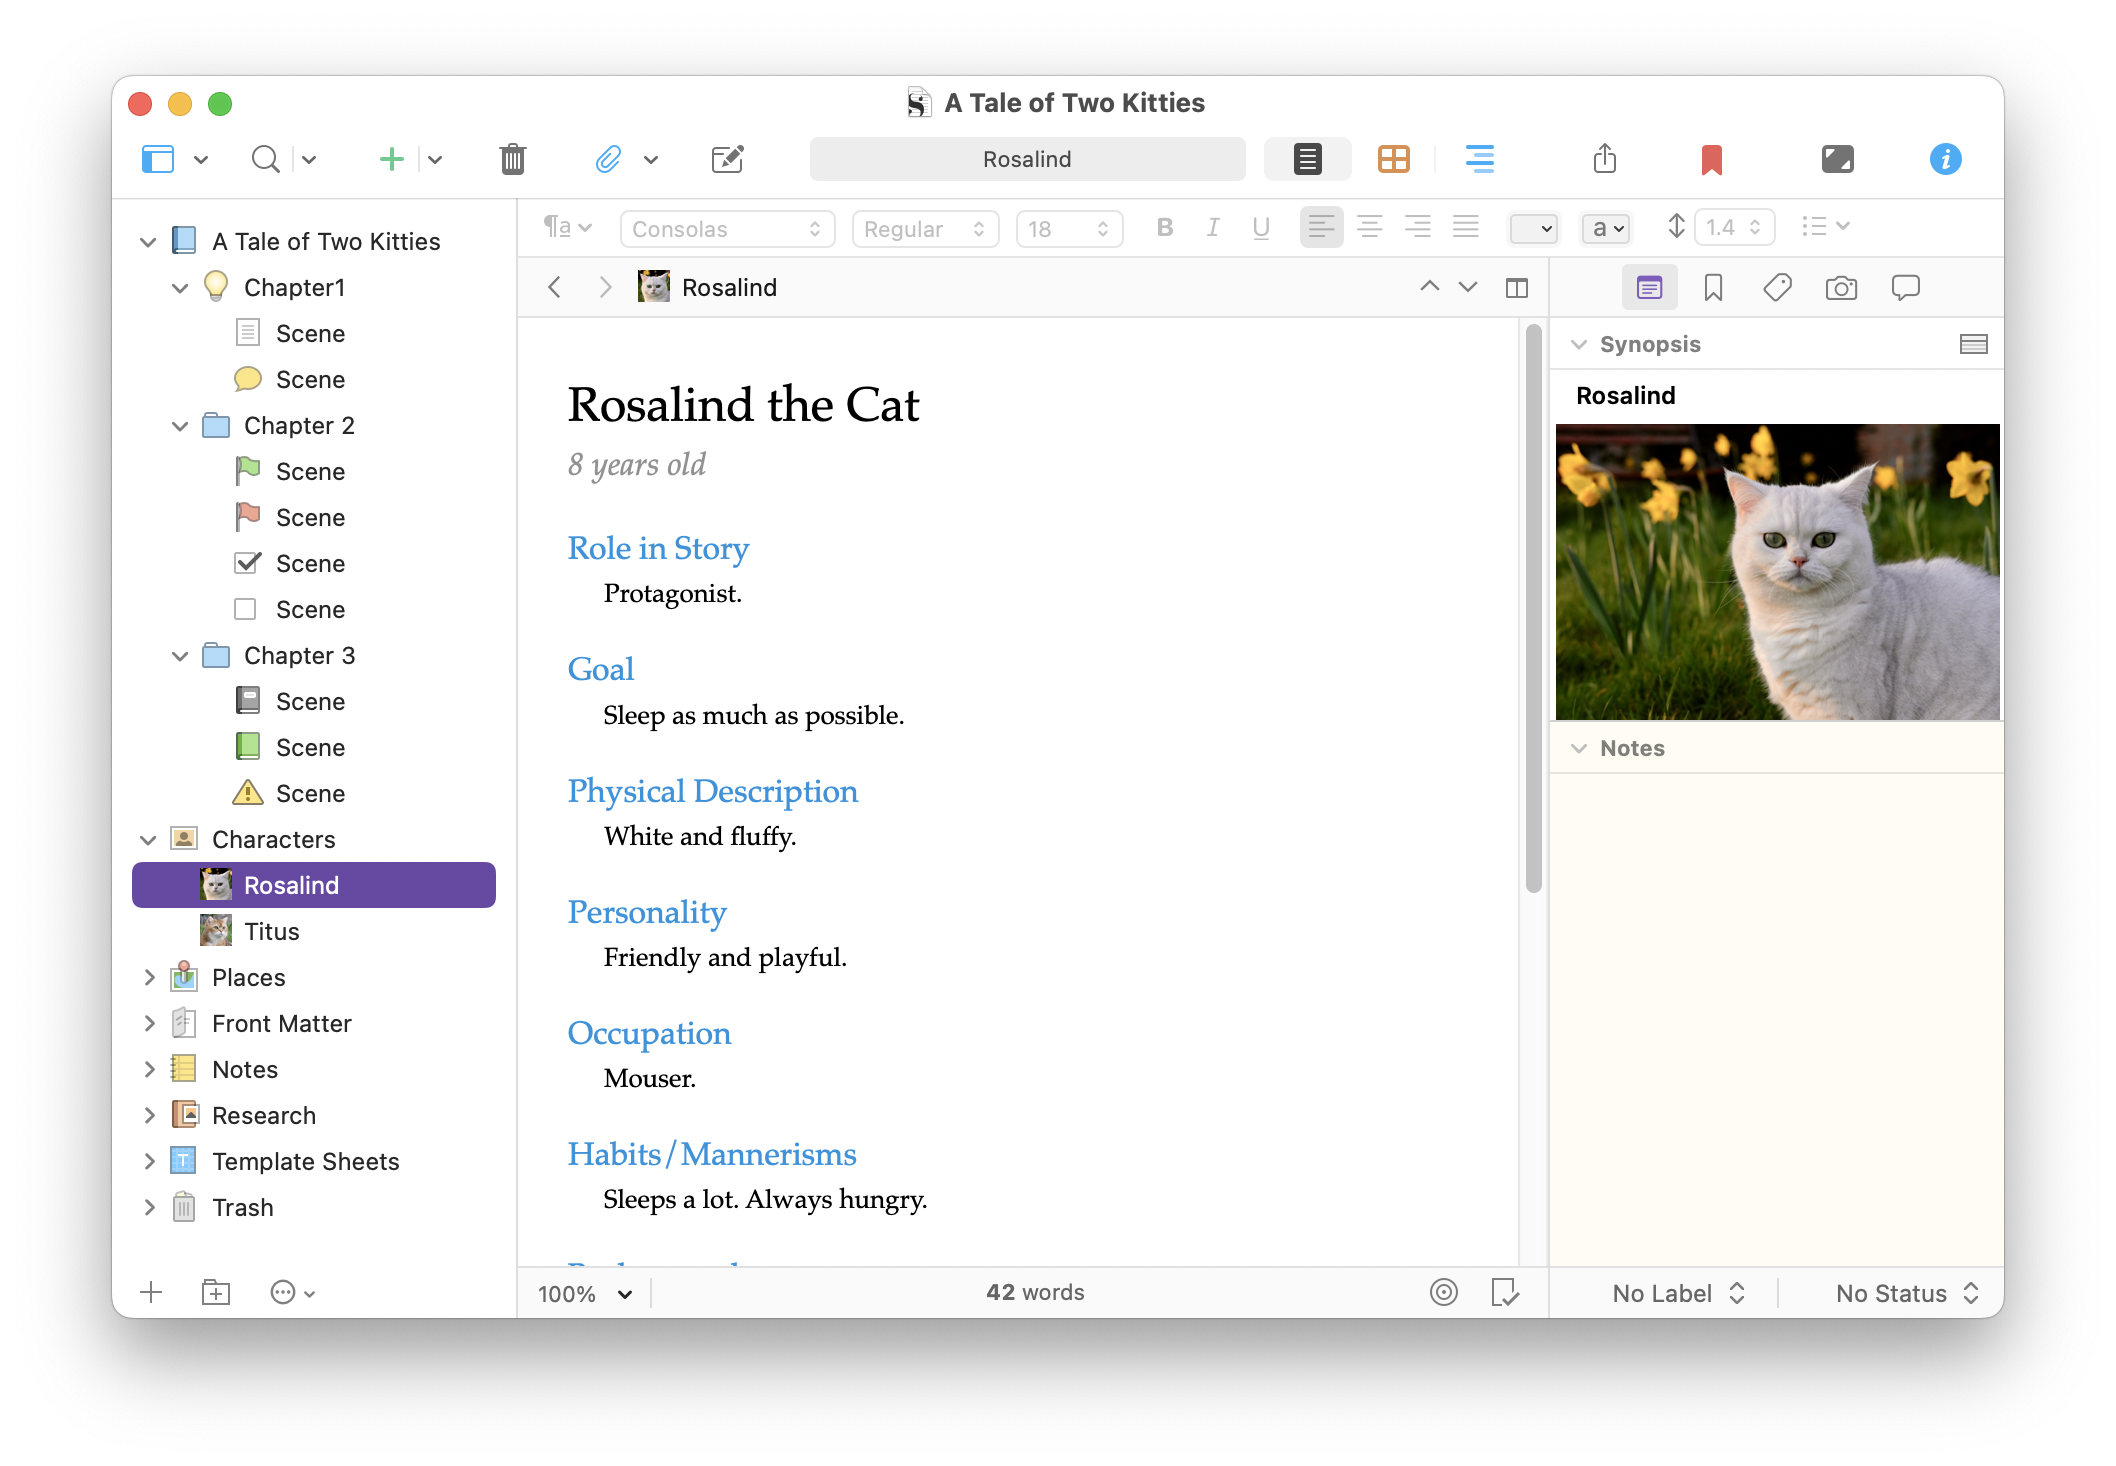
Most Scrivener project templates have two default document templates: Character Sketch and Setting Sketch. These files are formatted to hold information about characters and settings, which you can refer back to as you write.
By default, these files are stored in the Characters and Places folders, and you can create the appropriate files by selecting one of those folders and pressing Return.
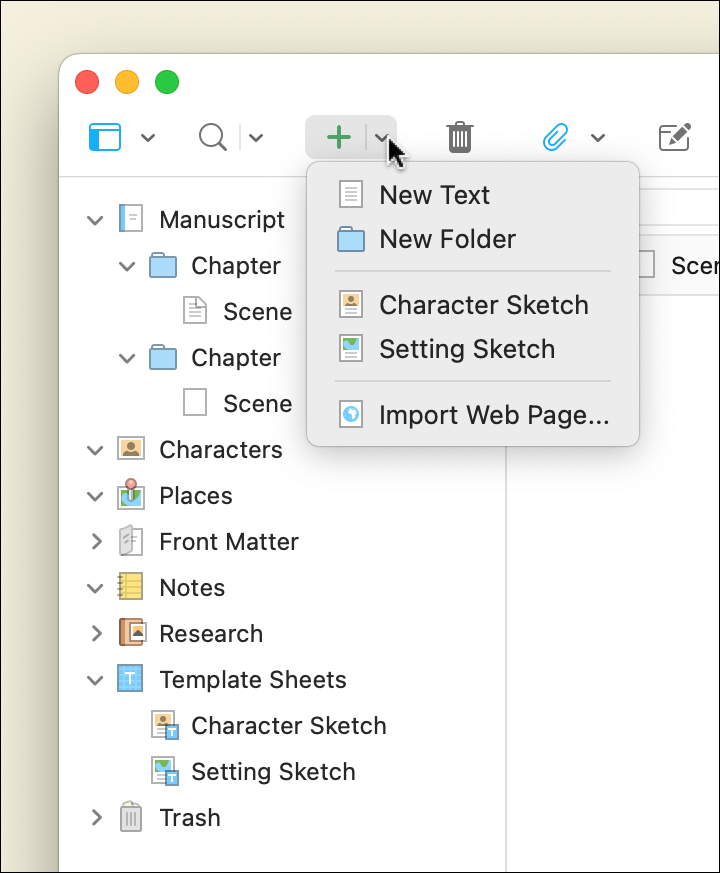
You also see these when you click the down-arrow next to the green + button in the toolbar. You don’t have to store them in their named folders, so you could select any folder in the Binder and choose to create one of these files from this menu.
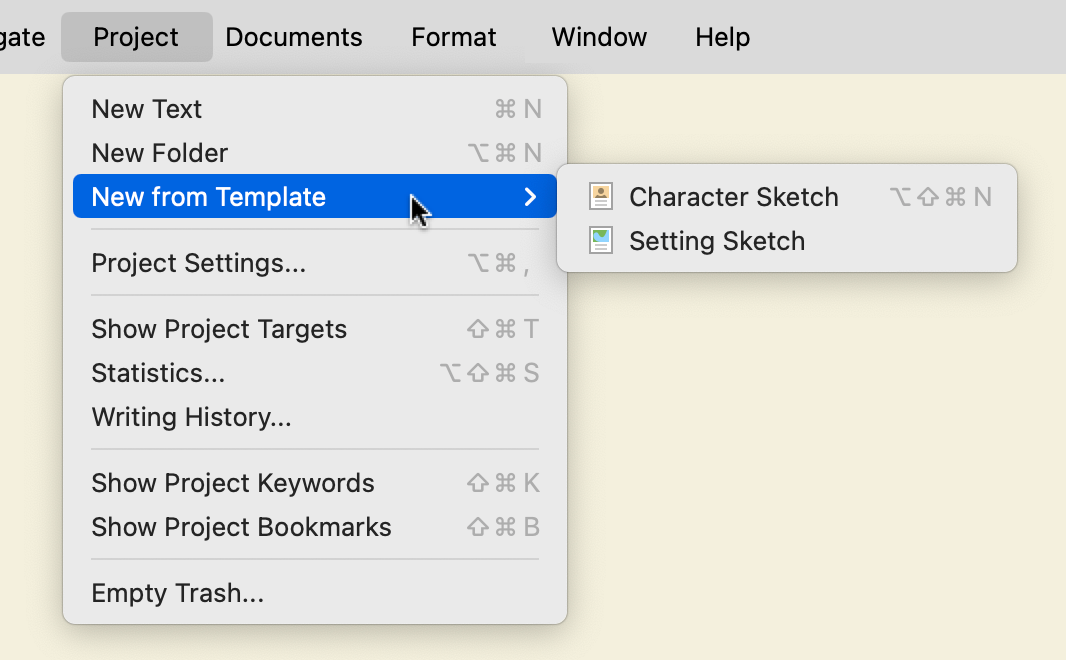
And you can also create these files from the Project menu: choose Project > New from Template, then choose a file from the submenu.
Why you might want to create document templates
You can create your own custom document templates, and there are a number of ways they can be useful:
- If you’re writing a science fiction or fantasy novel, you may have world-building information that doesn’t fit in existing character or setting sketches. Or you may want different types of character or setting sketches for major and minor characters and settings.
- You may want to use specific formatting for flashbacks or alternate timelines, and it’s easier to create a document template than to apply formatting to each document when you want to use it.
- If you have a novel that contains a lot of emails, you could format a document template like an email, using a fixed-width font, and call it up each time you want to write a new email.
- If you are using images with captions in a thesis or other project, you can set up a document template with the layout and formatting you want to use.
- You could create blank documents with custom icons, as in the screenshot earlier in this article, and use them as templates. You can create new documents using these files with icons, such as to indicate point of view characters, different timelines, etc.
Storing document templates
As you can see in the screenshots above, there is a folder in the Binder labeled Template Sheets, which contains Character Sketch and Setting sketch files. Not all templates include these files and folders; for example, the Poem template doesn’t have Character or Setting Sketch files. But you can add document templates to any template, and create a Templates folder to hold them, if there isn’t already one.
If the template you’re using doesn’t have a Template Sheets folder, create a new folder somewhere outside the top-level Draft or Manuscript folder in the Binder. Name it My Templates or anything you want.
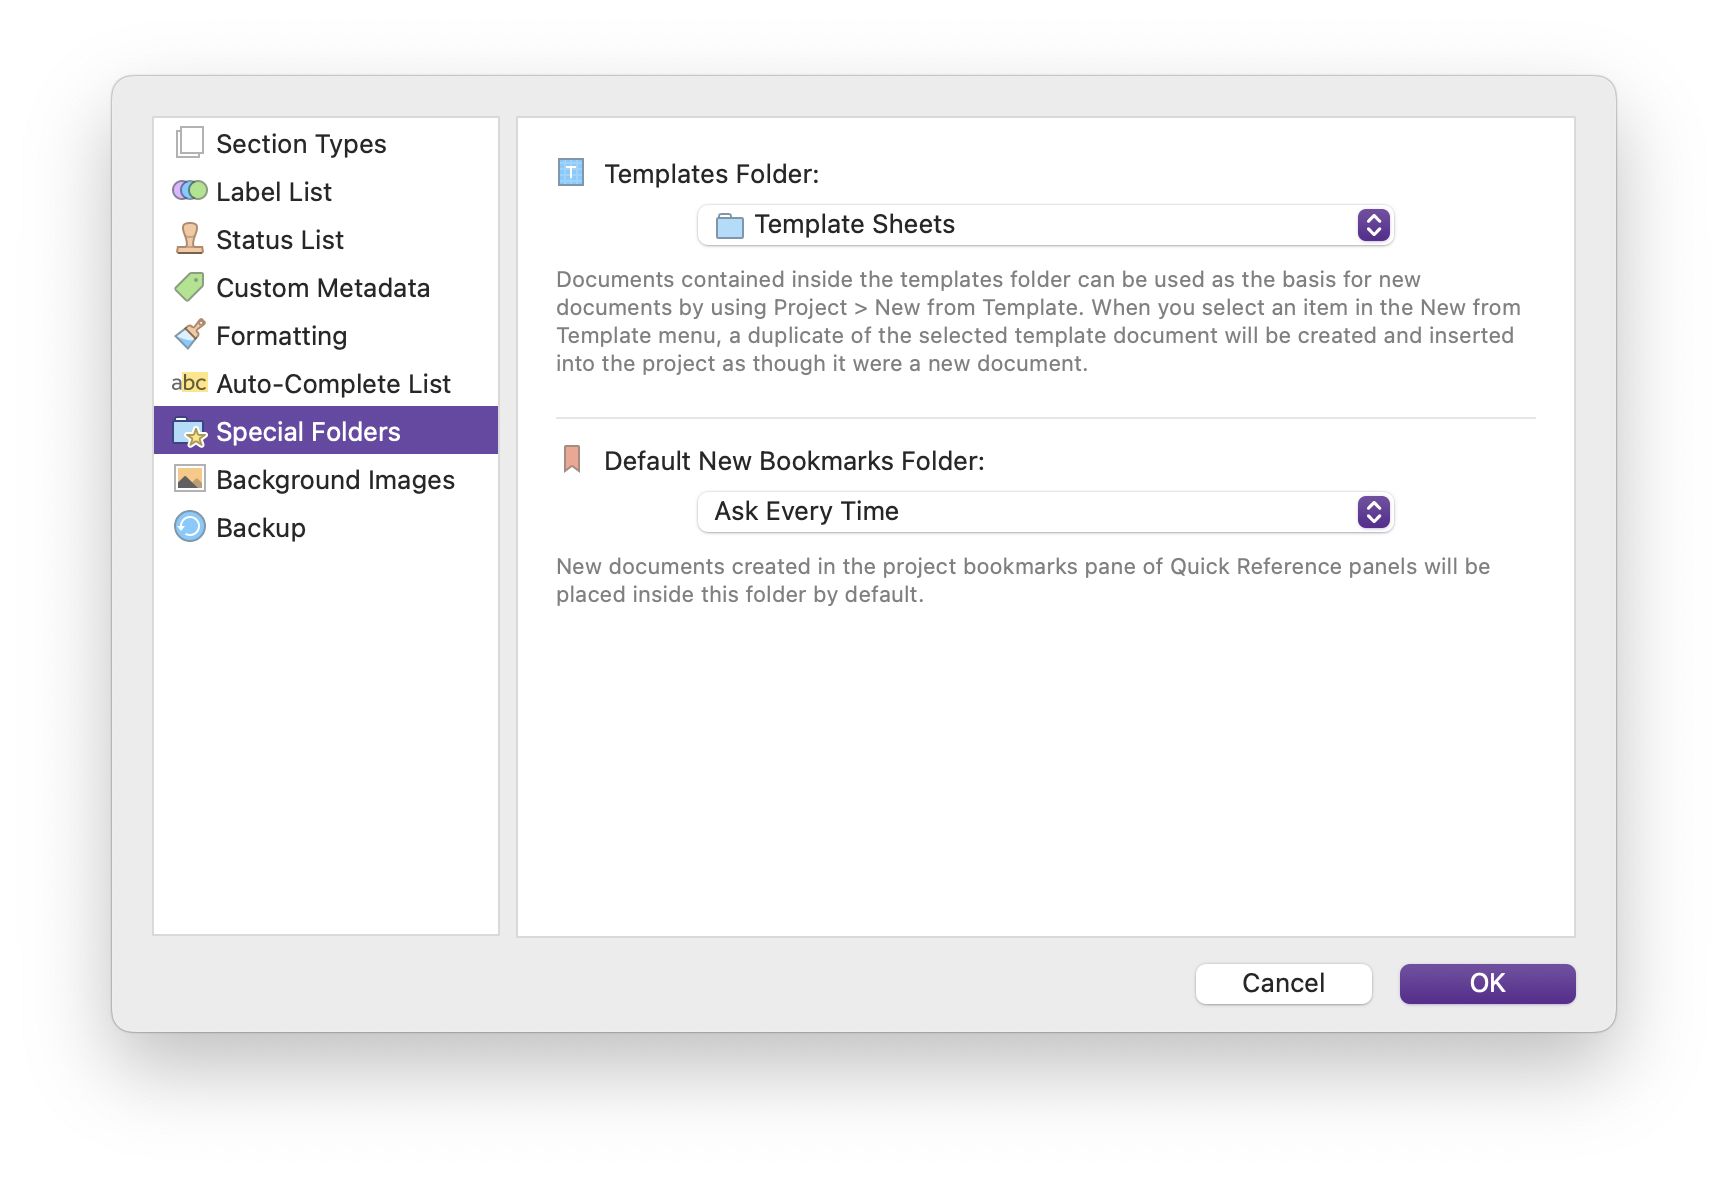
Choose Project > Project Settings, then click Special Folders. Choose the folder you just created from the menu at the top of the dialog.
Put any document templates you create in this folder.
If you have a project that already has a Template Sheets folder, you might want to leave that folder as is and create a folder such as My Templates and use that to store custom templates you create. You could also create a subfolder in the Template Sheets folder, and this shows up as a subfolder when choosing document templates using either of the above methods.
Creating document templates
A document template is simply a pre-formatted file designed for a specific use. Let’s say you have formatted a text file in the Binder, and you want to use it for all your new documents. You could duplicate it whenever you create a new document (right-click or Control-click on the document, then choose Duplicate), but then you’d have to move the file to the location where you want to use it and delete all its text. Instead, you can duplicate it as above and then move it to your Templates folder, so you can create it easily when needed.
If you create a document template to retain its formatting, don’t delete all the text; when Scrivener creates a new document, it will strip the formatting. To create a document template with formatting, delete all the text, then type some placeholder text at the beginning of the document. Select the text, then switch away to another document or folder. Scrivener will retain the formatting when you create a new document from the template, as long as the text is selected.
(Note that you can set default formatting for all new documents in Scrivener’s settings, but if you want to use more than one type of formatting, document templates allow you to do that. See Customize the Scrivener Editor 2 – Adjusting Fonts in the Editor for more on formatting documents.)
Using document templates
As you’ve seen above, you can create new documents from templates from the + button in the toolbar, or from the Projects menu.
You can change the order of the documents in your templates folder; they appear in the + menu or the Project > New from Template submenu in the order they appear in that folder.
If you ever want to remove the templates from the above menus, go to Project > Project Settings, then click Special Folders, and choose No Templates Folder from the top menu. Or just move the files to any folder other than the one you’ve selected as your Templates folder.
There’s more on document templates in section 7.5.1 of the Scrivener manual.
Kirk McElhearn is a writer, podcaster, and photographer. He is the author of Take Control of Scrivener, and host of the podcast Write Now with Scrivener. He also offers one-to-one Scrivener coaching.